Inviting Users
District admins only. The Invite User flow is gated to district admin accounts. District users, school users, and teacher users cannot invite. If you don't see the Invite User button on the user list, your account doesn't have permission and you need to open a Helpdesk Ticket or ask your existing district admin to send the invitation.
The UI invite flow lets a district admin add a single District, School, or District Admin user without re-uploading the SIS CSVs. (District Admins count toward your limit of 5; you can also promote an existing user from their edit page.) The invitee receives an email with an accept link and signs in with Google or Microsoft to claim their account.
See District & School Users for the side-by-side comparison with CSV import and guidance on when each is the right tool.
Before you start
- You're signed in as a district admin (other roles cannot invite).
- The invitee has a Google or Microsoft account on the district's email domain (their sign-in identity).
- Teacher add / remove still goes through CSV. The UI invite covers district users, school users, and district admins (up to 5).
Step-by-step: sending an invitation
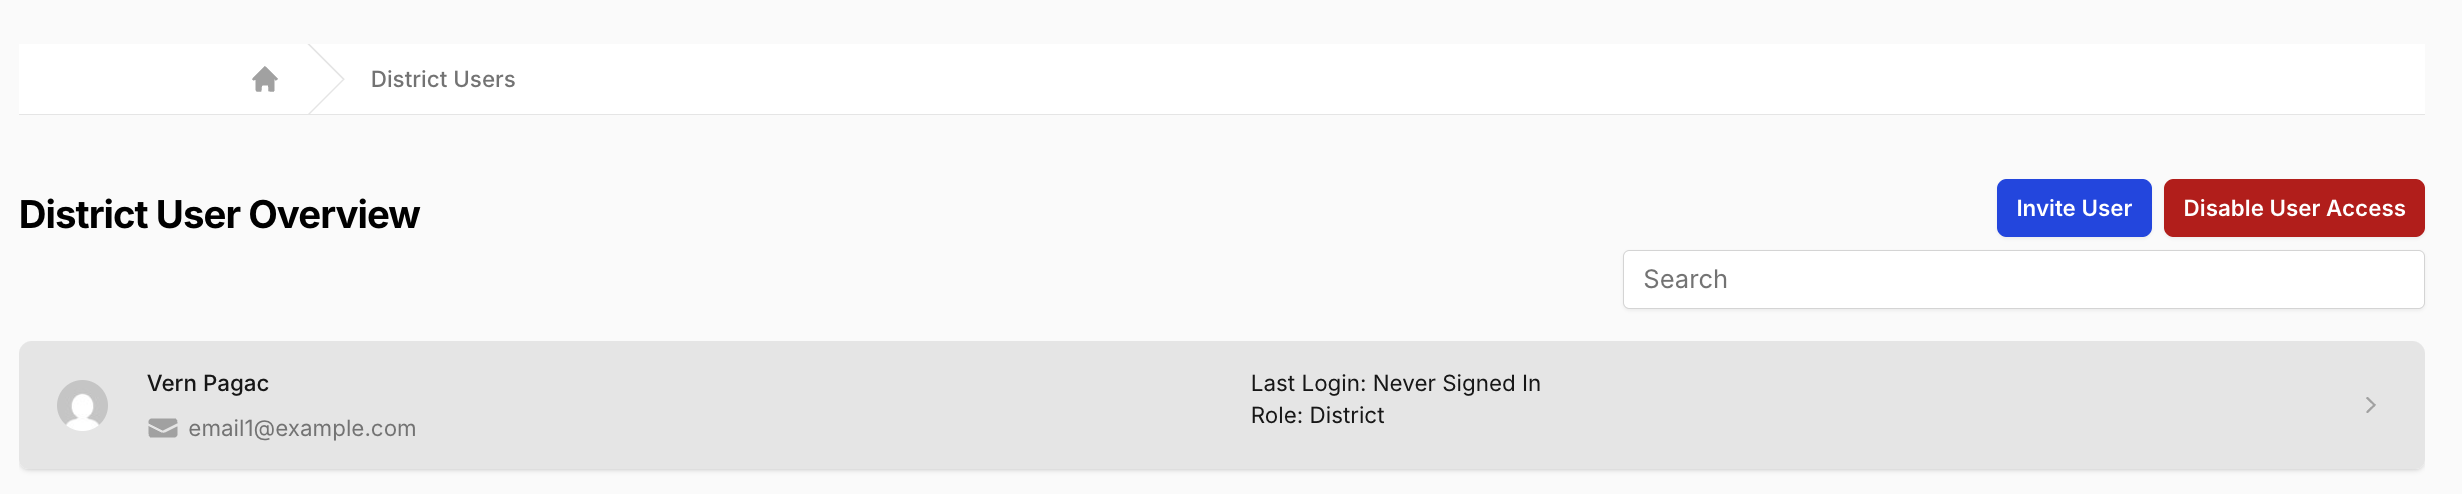
- Open the user menu (avatar in the navbar, top right) and select the user list that matches the role you're inviting: District Users, School Users, or Inactive Users. Any of these brings up the user list with the invite button.
-
Click Invite User at the top right of the list.
-
Fill in the form:
Field What to enter Name The invitee's full name. Email The email they sign in with. Must match their Google or Microsoft account. Role Choose one primary role with the radio buttons: District, School, or District Admin (up to 5). The form only shows roles you're allowed to assign. School Access Appears when you select the School role. Pick one or more schools the user should see. Example: to invite a principal who should see only their building, enter their name and district email, choose the School role, then pick their school under School Access.
-
Click Send invitation.
You'll see a Invitation was sent to {email} confirmation, and the pending invitation appears in the user list.
One primary role per invitation. Each invite grants a single role (District, School, or District Admin). To change someone's access later, edit them from the user list after they accept.
Already in your district? You'll be sent to their user list
Invitations are only for people who aren't in your district yet. If you enter an email that already belongs to someone in your district, TKG Analytics takes you straight to that person's user list instead of creating a second invitation, so you can manage them where they already live:
- An active member sends you to their District, School, or Teacher Users list.
- An inactive member sends you to the Inactive Users list, where you can reactivate them.
No new invitation is sent in either case. Edit or reactivate the person from the list you land on. (This is also why re-inviting a teacher who's already in your roster takes you to Teacher Users rather than sending an invite.)
A person can belong to only one district. If the email already belongs to an active member of a different district, the invite is refused with a message to use a different email, or to open a Helpdesk Ticket if they're changing districts. Someone who moves districts under a new email address is a brand-new user and invites normally.
What the invitee sees
-
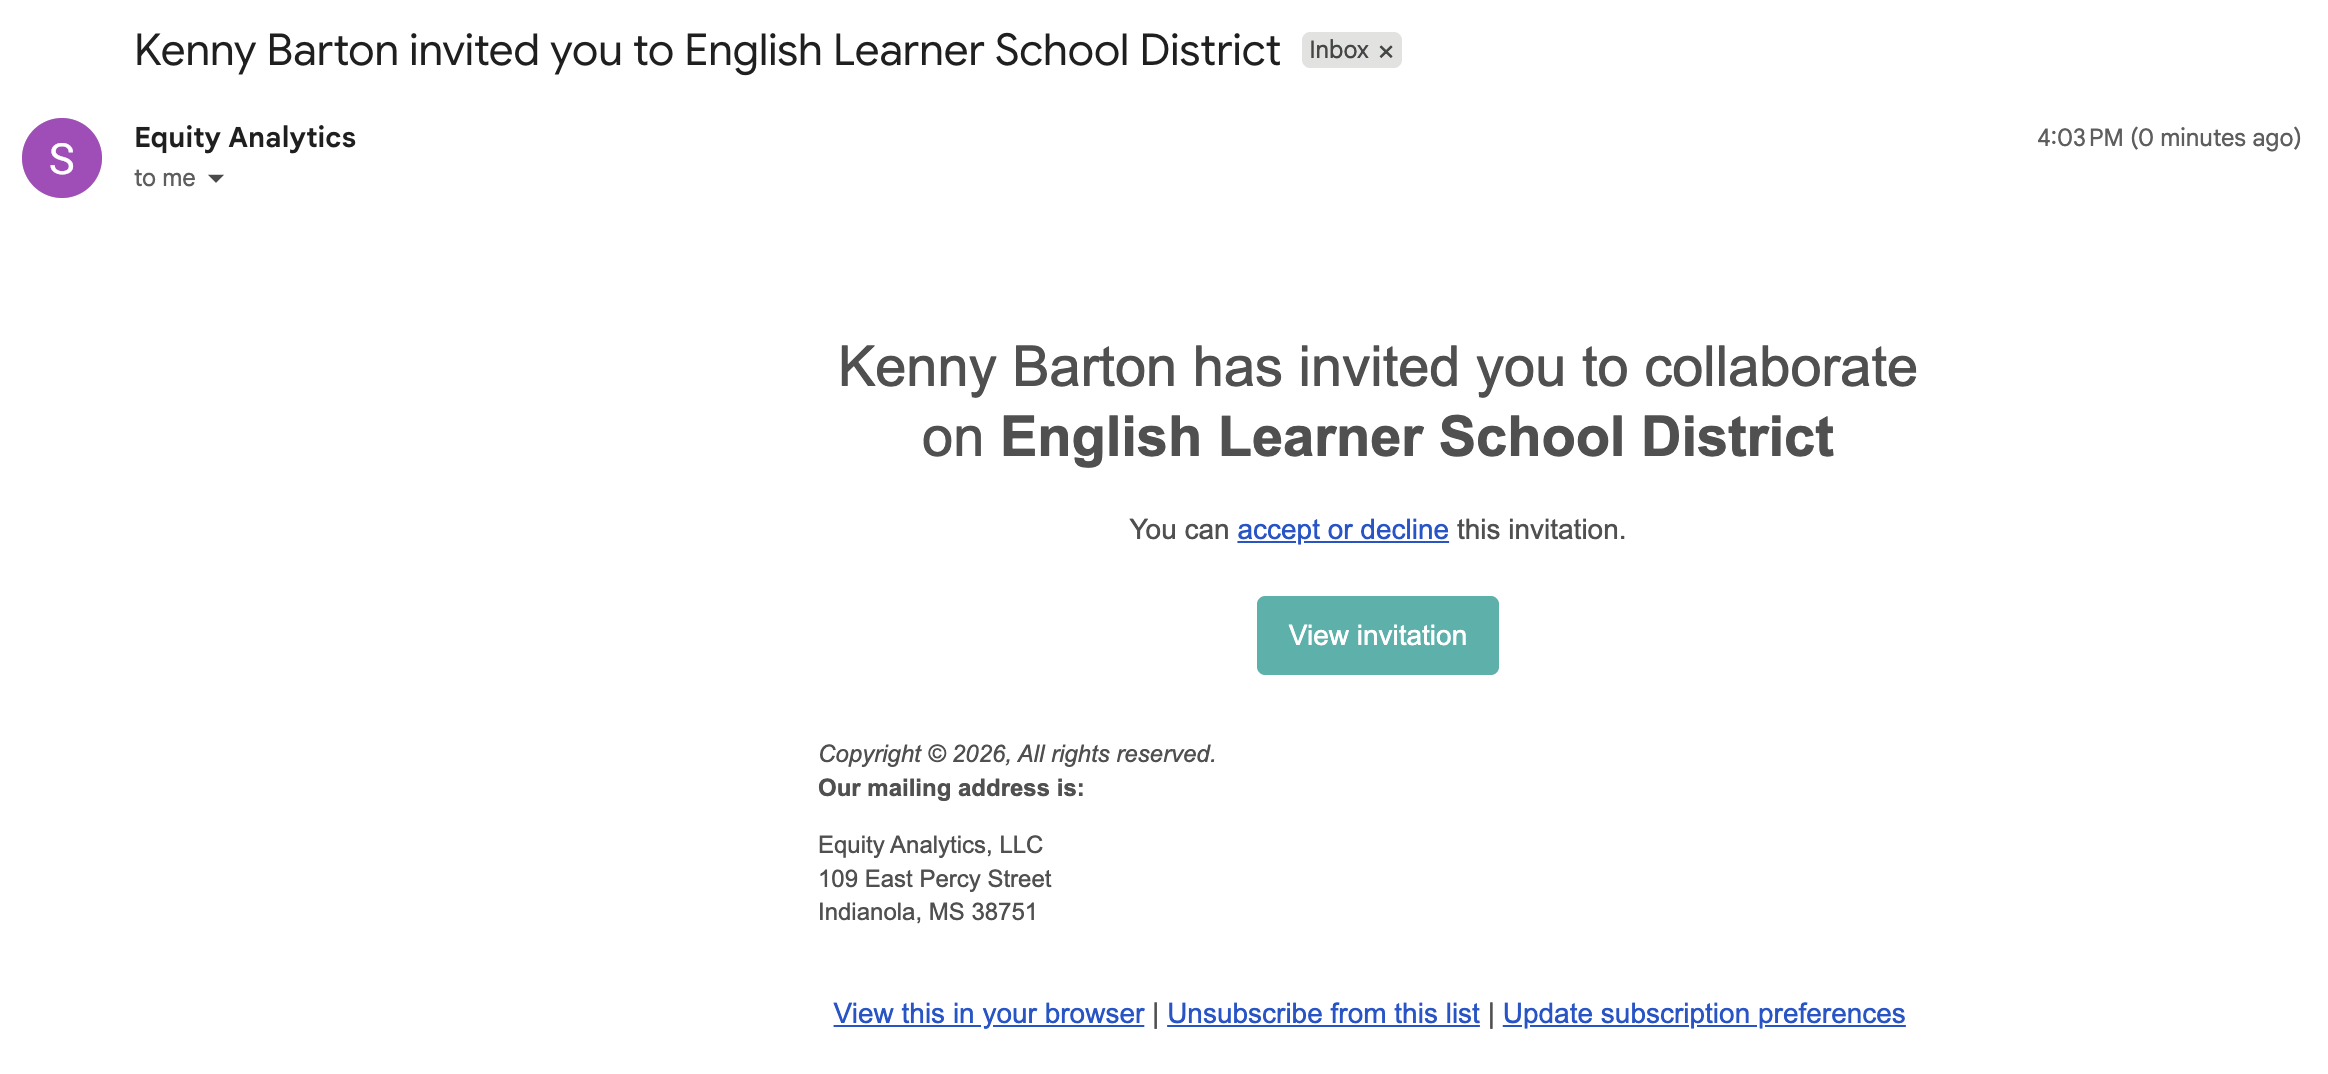
Email arrives with the subject {Your name} invited you to {District name}.
-
Invitee clicks Accept Invitation in the email.
- They land on the invitation page in TKG Analytics. If they aren't signed in yet, they're redirected to sign in first.
- They sign in with Google or Microsoft (see Sign In).
- Back on the invitation page, they click Accept Invitation (or Decline) to finalize.
- On accept, they land on their account list and have access immediately.
Sign-in is Google or Microsoft only. TKG Analytics doesn't use email/password sign-in. To accept an invitation, the invitee needs a Google or Microsoft account on the email address you invited. If they don't have one, contact support: Helpdesk Ticket.
Sent the wrong invitation?
Open a Helpdesk Ticket and we'll revoke or correct it.
Deactivating after the invite
The UI invite flow only adds; it never removes access. To deactivate a user after they've accepted:
- Open their user edit page.
- Use the Deactivate Account button at the bottom of the page.
Deactivation is sticky: it survives nightly SIS imports, so a deactivated user does not come back automatically when the CSV is re-uploaded. To restore access, click Reactivate Account on the same page.
Reactivation is sticky too. Because you decided by hand that this person keeps access, reactivating them also takes them off nightly management: the import will not deactivate them again for being absent from the CSV, and it stops changing their role and school access. Removing their access later is an explicit Deactivate.
Why use the UI invite?
- One change at a time without touching the CSV.
- The audit trail credits you as the inviter, so "who granted this user access?" reads correctly later.
- No risk of accidentally deprovisioning someone else by uploading a stale CSV.
For bulk onboarding (new district, reorg, nightly SIS sync), the CSV import remains the right tool. See SIS Data Upload.
Troubleshooting
- You clicked Send and landed on a user list instead of a confirmation. The email already belongs to someone in your district, so there was nothing to invite. Manage that person from the list you were taken to (the Inactive Users list if they'd been deactivated).
- Invitee never got the email. Have them check spam. If it's still missing, open a Helpdesk Ticket and we'll revoke the old one and resend.
- Invitee clicks Accept but lands on a "not found" page. The invitation was revoked, expired, or already accepted. Open a Helpdesk Ticket if they still need access.
- Invitee can't sign in. The Google or Microsoft account they sign in with has to use the same email address you sent the invitation to. If their Google or Microsoft account is on a different address, send a new invitation to the one they actually use.
Related
- Users Overview - the whole Users guide.
- Editing Users - changing a user's scope, add-ons, or status after they accept.
- District & School Users - roles, scoping, and the CSV path.
Need Help?
- Helpdesk Ticket: Helpdesk Ticket
- Website: https://tkganalytics.org